
Table of contents
- Introduction
- Understand the concept
- Initialize translation module
- Implement language switcher
- Translate our application based on the last preference language
- Final outcome
Introduction
Before we get started, it’s high recommend to clone the Github repo and we can follow along with the article contents.
The first step after we downloaded the repo is to checkout the the starter folder and run npm install and npm run dev to start our React app locally.
Understand the concept
You should see the following UI after you start the server
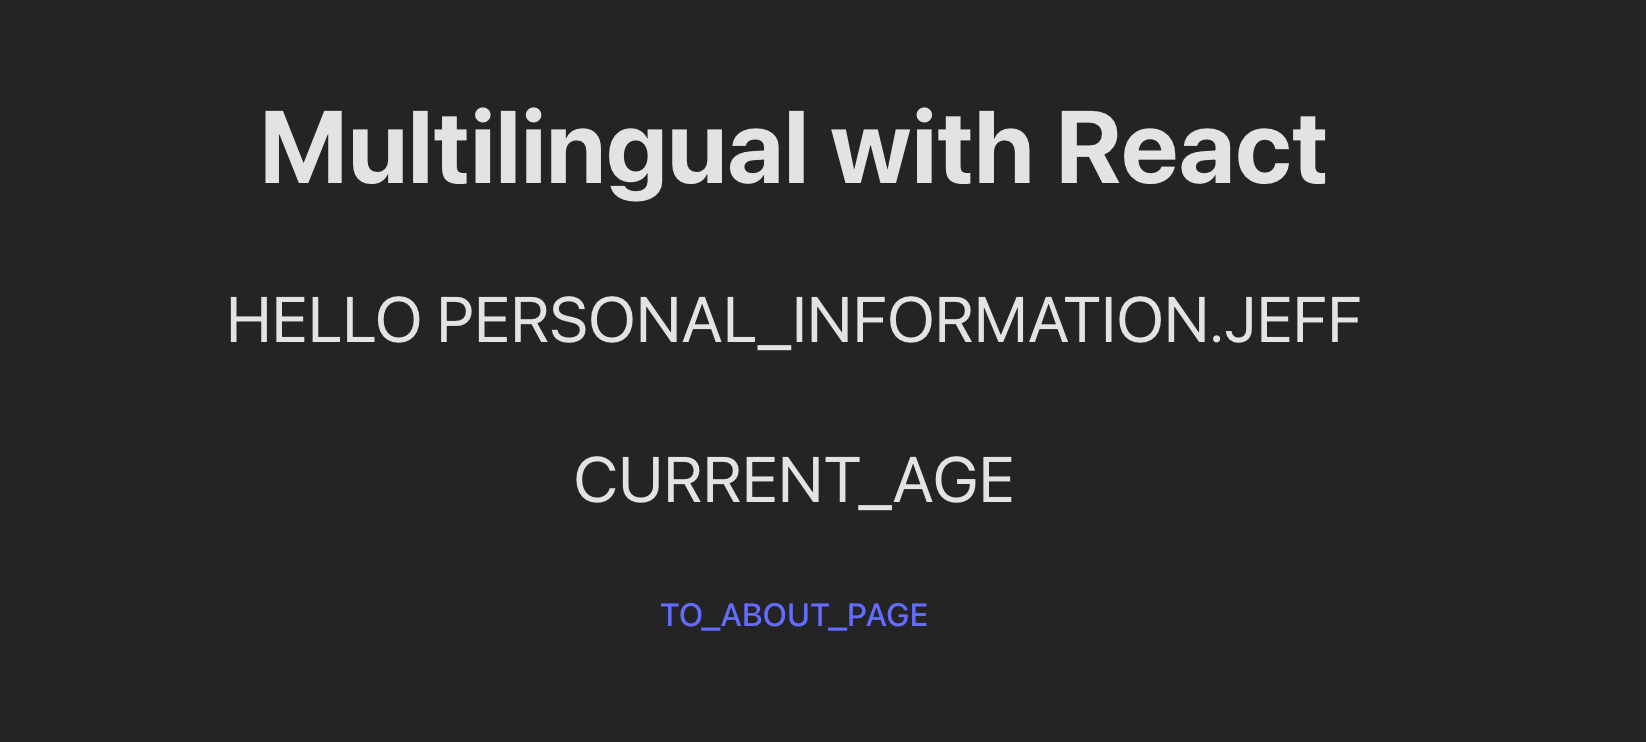
You may wonder the wordings here look a little bit weird as it is fully uppercase and the words are joined with underscore. You may checkout the folders under /src/language/en.ts and /src/language/cn.ts and you may aware the words showing in our homepage are actually the keys of these translations.
What are we going to do later is we will utilize some methods from the react-i18next and translate these keys into it’s own translation value.
Initialize translation module
We can now navigate to the /src/language.ts file start configuring our translation module.
import i18n from "i18next";
import { initReactI18next } from "react-i18next";
import { cn, en } from "./languages";

i18n.use(initReactI18next).init({
  resources: {
    cn: { translation: cn },
    en: { translation: en },
  },
  lng: "en",
  fallbackLng: "en",
});

export default i18n;
Explaination
- We first pass the
i18ninstance toreact-i18next. - Initialize the instance with necessary options.
- We could pass more keys into the resources field if we have more language to be translated.
cn: { translation: cn }. This line of code means we can switch our application language by passing incnoreninto the changeLanguage method. We also need to specified the objects when the language is selected. For example, we are passing in the languages file we have earlier into it’s respective resources key.
- The
lngis refering to the default language use when the application is loaded fallbackLngis stands for fall back language which will be used when the given language is not available.
Implement language switcher
We can now navigate to the /src/App.tsx file to implement the language switcher logic.
import i18n from "./language";
import { Routes, Route } from "react-router-dom";
import "./App.css";
import About from "./About";
import Home from "./Home";

function App() {
  function changeLanguage(language: "en" | "cn") {
    i18n.changeLanguage(language);
  }

  return (
    <>
      <Routes>
        <Route path="/" element={<Home />} />
        <Route path="/about" element={<About />} />
      </Routes>
      <button onClick={() => changeLanguage("en")}>English</button>
      <button onClick={() => changeLanguage("cn")}>Chinese</button>
    </>
  );
}

export default App;
Outcome
Explaination
We can utilize the changeLanguage method to change the language and it’s now working great where it will stick back to the selected language even if we navigate to other page. However, it’s not working when we are having hard refresh or we enter the url by ourselve. One of the reason is because, when we are doing hard refreshing and changing the web url directly, no state will be preserved and React will actually rerender our UI. This cause as issue if we have selected cn at the beginning but our default language is en
Translate our application based on the last preference language
We can then integrate with the useLocalStorage hook, the code is ready in the starter pack and here is what the final implementation looks like.
import i18n from "./language";
import { Routes, Route } from "react-router-dom";
import "./App.css";
import About from "./About";
import Home from "./Home";
import { useEffect } from "react";
import { useLocalStorage } from "./hooks/useLocalStorage";

function App() {
  const [defaultLanguage, setDefaultLanguage] = useLocalStorage(
    "language",
    "en"
  );
  function changeLanguage(language: "en" | "cn") {
    i18n.changeLanguage(language);
    setDefaultLanguage(language);
  }

  useEffect(() => {
    i18n.changeLanguage(defaultLanguage);
  }, [defaultLanguage]);

  return (
    <>
      <Routes>
        <Route path="/" element={<Home />} />
        <Route path="/about" element={<About />} />
      </Routes>
      <button onClick={() => changeLanguage("en")}>English</button>
      <button onClick={() => changeLanguage("cn")}>Chinese</button>
    </>
  );
}

export default App;
Explaination
- Firstly, we imported and initialize the
useLocalStoragehook. There is 1 value and 1 function returned from the hook where are the current language store in the our browser’s local storage, another is the function that allows us to update our preference language in local storage- This hook required 2 arguments which are the key in our local storage and the default value for the given key
- We can then slightly modify our
changeLanguagefunction to include the update to local storage as well by callingsetDefaultLanguage(language) - We also utilized the useEffect hook to handle the preference language stored in the local storage when everytime our App is refreshed or loaded.